
LIFESTYLE
Brick Tuckpointing: How to Repair Crumbling Mortar Joints
Brick tuckpointing replaces crumbling mortar, but the new mix must stay softer than the brick or the faces break. Depth, mortar type, and when to call a mason.

You can pinch the mortar and it turns to sand in your fingers, or a dark gap has opened where the joint used to meet the brick. Brick tuckpointing is the repair for that joint when the bricks themselves are still solid.
In day-to-day American use, the job means cutting out the failed mortar and packing the joint with new mortar. The new mix has to stay softer than the brick, and no harder than the mortar it replaces. A harder joint is what pops the brick faces off.
What follows sorts the two meanings of the name, the signs that the joint is the problem, the mix that fits the brick, the steps, and the moment a mason should take the wall.
How Do Repointing and Tuckpointing Differ?
Masons and homeowners use one word for two different jobs, and the quote you accept depends on which job you mean. Repointing is the repair: failed mortar comes out, fresh mortar goes in, and the joint seals the wall again. True tuckpointing, in the older sense, is a finish. The joint is filled flush with mortar colored like the brick, then a thin raised line of a contrasting mix is pressed down the middle so ordinary brick looks like fine rubbed work.
Calling the repair “tuck pointing” is treated as somewhat inaccurate in the guide to repointing historic mortar joints, which saves the strict word for that raised line. Homeowners and many contractors still say tuckpointing when they mean the repair, and one masonry standard even lists the two words as synonyms while still describing the older fillet. If your joints are crumbling, you need the repair. The decorative line is a second choice, and only on joints that are already sound.
Sort the work by what has failed, not by the word printed on the estimate. Two honest bids can describe one rake-and-pack job with two names, so ask which joint finish is included.
| What you see | What the wall needs |
|---|---|
| Mortar is sandy, cracked, or eaten back, and the bricks are sound | Repointing, which most contractors will call tuckpointing |
| Bricks are cracked through, loose, or losing their faces | Replace those bricks, then point the joints around them |
| A gutter, a roof, or wet soil keeps soaking one area | Stop the water before any new mortar goes in |
| Joints are sound and you want the look of very fine lines | Decorative tuckpointing, the contrasting fillet |
Water is the reason most of these joints fail. A leaking downspout, a gutter that overshoots, ground damp climbing the wall, settlement that keeps opening a corner, or a face that takes the worst weather will eat the next mortar the same way. Pack new joints only after that source is fixed, or the repair becomes a repeat job.
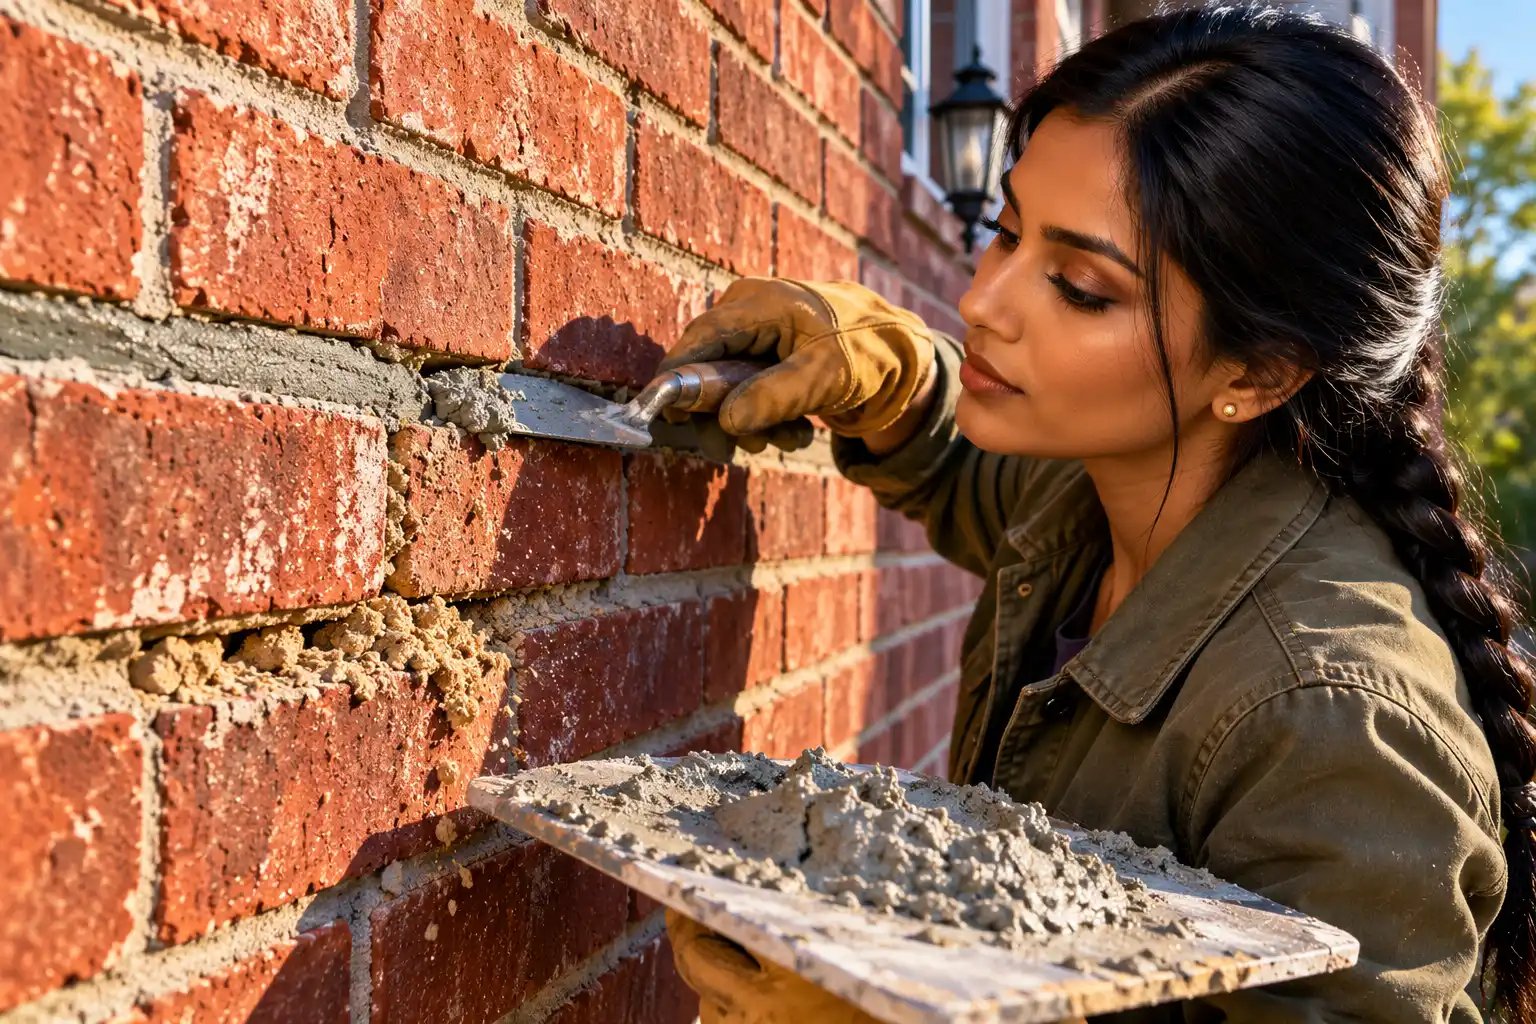
Signs a Brick Joint Needs Tuckpointing
You do not rake out a wall because the mortar looks old. Original joints that are still hard and stuck to the brick are better left alone. The work is slow, and a sound old joint has already proved it can live with that brick.
The joints that do need work show a short list of failures. Mortar eroded more than 1/4 inch back from the brick face, mortar that crumbles under a light scrape, holes in the joint, hairline cracks in the mortar, and cracks between the brick and the mortar are the conditions in the note on maintaining brick mortar joints. A small metal tool and a close look are enough to find them. On a very dirty old wall, a gentle water wash, not grit and not a chemical, makes the joints readable before you mark them.
Loose bricks, a damp interior wall, or stained plaster on the inside of a masonry wall mean the joint has stopped keeping weather out, and they can also mean the water problem is bigger than the mortar. White powder on the surface is salt left as moisture dries. That bloom is usually harmless. Salt that crystallizes inside the brick is the version that shoves the face off, and it shows up when the joint will not let vapor escape.
Which Mortar Mix Should You Use on Brick?
The joint is meant to be the part that gives. Heat, moisture, and small settlement should open the mortar, which you can repoint later, rather than crack the brick or pop its face. A mix stronger than the brick will not yield, so the brick takes the stress. The same damage follows when the joint is denser than the brick and vapor cannot leave: water stays in the unit until the face lets go.
Age is a useful first clue to hardness. For centuries the ordinary mix was lime and sand, about 1 part lime putty to 3 parts sand. Portland cement became common in American brickwork in the early 20th century, so a wall from that changeover can hold anything from a lime joint to a cement blend. A joint that powders under a light scrape is asking for a high-lime mix. Dense modern brick can carry a stronger one.
Masonry mortar is graded by minimum crushing strength, which is how the ASTM mortar types are graded. More cement makes a harder, faster joint. More lime makes a softer joint that stays workable and lets vapor through. Pick the softest type that still suits the weather on that wall.
| Type | Minimum strength at 28 days | Where it belongs |
|---|---|---|
| M | 2,500 psi | Heavy loads and below-grade work, not a soft brick wall |
| S | 1,800 psi | Structural walls and severe weather; often too hard for old brick |
| N | 750 psi | Most modern above-grade brick |
| O | 350 psi | Repointing where a stronger mix would stress the brick |
| K | 75 psi | Very soft historic brick; an appendix mix, not a common bag on the shelf |
Type N at the common volume mix is 1 part portland cement, 1 part hydrated lime, and 6 parts sand. Type O, the usual step down for older brick, is 1 part cement, 2 parts lime, and 9 parts sand. Rounded natural sand does more for color, and for how the joint packs, than any dye, because sand is most of the mix.
Match the sand before you reach for pigment. Wet a sample and set it beside old mortar you have dampened, then compare both after they dry. The joint changes color as it loses water, and a match that only looks right in the bucket will look wrong on the wall.
How to Tuckpoint Brick Joints
A few feet of a low wall, where you can stand on the ground and the brick is modern and hard, is a realistic home project if you work slowly. A facade above your head, a chimney, soft historic brick, or a wall that bulges belongs with a mason. The sequence is the same either way.
A brick step repair shows what a too-hard mix does in real joints. An earlier Type S mortar was stiffer than those bricks could stand, hairline cracks followed, and the redo uses Type N so the joint can move a little with the wall. The trowel work is worth watching before you pack your own.
Cut the Joint to a Sound Depth
The new mortar needs enough depth to lock in. A shallow smear on the face is what falls out a season later, even when the color looked perfect on day one.
- Rake failed mortar to a depth of at least 2 to 2 1/2 times the joint width, and farther if what you reach is still crumbly. On a joint about 3/8 inch wide, that is roughly 3/4 inch to just under 1 inch.
- Leave a square back to the cut, with the brick edges intact. Hand chisels and a mash hammer are the least likely to chip soft brick.
- Keep grinders off the vertical joints. A blade that slips cuts the brick above or below the joint. On wide horizontal joints in hard cement mortar, a skilled hand can score the center and finish the sides by chisel.
- Brush the dust out, rinse the joint, and leave it damp with no standing water. Very thirsty brick wants a light mist for a few hours beforehand so it does not suck the mix dry.
Wear glasses and a dust mask while you cut. Mortar dust is heavy, and a chipped edge on a face brick does not heal.
Pack Mortar in Thin Layers
Measure the dry ingredients by volume and mix them before any water goes in. Sand should be damp and loose, or the batch ends up oversanded. Add about half the water so the mortar just holds together, mix for about five minutes, then splash in the rest until the mix is stiff enough to pack and not so wet that it smears the face.
Use that batch within about 30 minutes of the final water. Adding water later, called retempering, is how a joint shrinks and cracks after it looks finished. Once portland cement is in a lime mix, you also cannot store the batch for another day.
PACK THE BACK FIRST
- Deep joints: Where the cut is deeper than 1 inch, fill the back in layers about 1/4 inch thick and pack each layer into the corners.
- Order: Fill the horizontal bed joints first, then the shorter vertical head joints, so the vertical work has a shelf to land on.
- Pressure: Force the mortar to the back of the joint with a tuck pointer narrower than the opening, because a void in the back is a leak.
A grout bag can place mix in a narrow joint, but you still have to compact it. A smear that only looks full will open once it shrinks.
Tool the Joint and Keep It Damp
Wait until the final layer is thumb-print hard: a thumb leaves a mark and no paste sticks to the skin. Tool then, with a jointer that matches the old profile. Too soon and the joint dries light and can hairline crack. Too late and you get dark streaks called tool burning, and the mortar does not close tight against the brick.
If the brick edges are worn and round, set the finished joint slightly back from the face. A joint brought out to the worn edge looks wider than the real joint, and the thin feather of mortar breaks off and lets water in. Brush crumbs with a natural bristle or nylon brush once the surface is dry but before the first set, inside the first hour or two. A metal brush scars historic brick, and a hardened smear comes off with a wooden paddle.
High-lime joints, the ones with more lime than cement, chalk and lose their bond if they dry fast. After tooling, mist them and hang damp burlap over the work for the first three days. If you use plastic for shade, tent it off the face so the wall can still breathe. The lime keeps hardening for years as it takes in carbon dioxide from the air.
Mistakes That Crack or Spall Brick
Most failed tuckpointing fails for a reason you can see on the next house: the joint was treated as glue, and the brick was left to do the flexing. The faces go before the new mortar does.
WAYS A NEW JOINT HURTS THE WALL
- Too hard a mix: Type S or a straight cement joint on soft brick traps moisture and pops faces, which is the damage a later Type N repair is often called in to undo.
- A grinder in a hurry: Overcut head joints and chipped edges let in more water than the crumbly mortar did.
- Wrong weather: Wall temperatures outside 40 to 95 degrees F either freeze the mix or flash the water off before the joint can cure.
- A dry or flooded joint: Dust left in the cut, or standing water, keeps the new mortar from bonding, and the plug falls out.
- Metal on old brick: Wire brushes and acid washes etch soft faces. Plain water and a bristle brush are the cleanup for a careful job.
Staining fresh joints to force a color match is a second trap. The stain can agree with the wall for a season and then weather on its own schedule, and some stains carry salts that bloom. A sand color that is close, left to age, stays more even than a tinted joint.
When to Hire a Mason for Brick Tuckpointing
On a historic house, the masons worth hiring can show repointing they did on old masonry. Preservation specs often set a floor of five years of that work before a bid counts. A good bricklayer is not automatically good at cutting a joint without scarring the units around it.
Ask each candidate to point a test panel before the full job, usually 3 feet by 3 feet on brick, off the front elevation if you can. The panel locks in color, texture, joint shape, and whether power tools are acceptable on that wall. Later work gets judged against the panel, not against a promise in the bid.
Spot repairs are the right default, because a sound original joint is worth more than a fresh one. When 25 to 50 percent or more of a wall has failed, doing the whole face can cost less than hopping between patches, especially once scaffolding is in the price. If most joints are still solid, leave them, even when access is awkward.
For a landmarked building, a state historic preservation office can point you toward a conservator who will write the mix before a mason prices the labor. Unit prices in the contract, separate for brick and for stone, keep a change in quantities from turning into a surprise.
How Long Do Tuckpointed Mortar Joints Last?
A careful job is meant to last at least 30 years, and preferably 50 to 100 years. That is the span a well matched historic repair is built for. A hard mix, a shallow cut, or a joint tooled at the wrong moment brings the next round forward, and it can scar brick that no mortar will restore.
On ordinary brickwork, a joint life past 25 years is a typical expectation in the Brick Industry Association repointing brief, a different measure from that longer historic target. The brick unit is built to outlast the joint. Mortar is the wall’s first line of defense, and it is the piece you plan to replace.
Frequently Asked Questions
Why Does New Tuckpointing Look Brighter Than Old Joints?
The new mortar is matched to clean mortar from inside the joint, while the face of the old joint has lost a little binder and shows more sand. A small difference is normal, and it usually quiets down if you let both sides age. Staining the fresh joints can look right at first and then drift, because the stain and the mortar do not weather as one material.
Can I Tuckpoint a Brick Wall in Cold Weather?
Not if the wall is cold enough to freeze the water in the mix, or hot enough to dry the joint before it cures. Antifreeze in the mortar is a poor workaround. It does little in a high-lime mix and it can leave salts that bloom on the brick. Warm the sand and the mixing water, cover the finished work, and wait for a milder stretch.
Is Hardware Store Masonry Cement Right for Tuckpointing?
It can be, on hard modern brick that wants a Type N joint or stronger, because those premixed bags are made to reach that range. On soft older brick they are often harder and less open to vapor than the wall. For that brick, a measured mix of portland cement, hydrated lime, and sand, stepped down toward Type O or a high-lime recipe, keeps the joint as the piece that wears out first.
How Do I Know a Crack Is Movement, Not Failed Mortar?
A crack that runs through the bricks themselves, in a stair step or a long vertical line, a wall that bulges, or a joint that keeps opening after you watch it through a dry season is movement. Packing that crack hides the shift, and the new mortar breaks again. A mason or a structural engineer should trace settlement, a failed lintel, or a foundation problem before any joint is filled.
Do I Need Shells or Hair in a Historic Mortar Mix?
Only when the job is a true duplicate of an old mortar that already contains them. Oyster shell has to be washed free of salt, crushed to the size in the existing joint, and kept to no more than 2 parts by volume of the mix. Color pigment, if you use it, should be a metallic oxide at no more than 10 percent of the portland cement by weight, and carbon black stays at 2 percent. Most houses look right with matched sand and no extras.
The joint is supposed to wear out before the brick does. Cut back to sound mortar, pack a mix the brick can outlast, and keep that joint damp while the lime hardens, and the next repair stays decades out instead of a few seasons away.
Disclaimer: This guide is educational and explains how failed brick mortar is cut out and replaced. It is not a structural assessment, an engineering opinion, or a substitute for a mason who can see your wall. Have a qualified mason or structural engineer look at bulging brick, loose units, or cracks that run through the bricks before you cut out mortar. Strengths, mix ratios, and temperature limits here follow the cited standards and preservation guidance and can change when those documents are revised.

Final Fantasy Resonance Turns a Dead Gacha Into HD-2D

PHP2Shell Forced Sites Offline While Exploits Stalled

Kindle+ Folds AI Audiobooks Into the Page-Read Fund

Chip Stocks Fall as the Bond Rally Cheapens AI Spend

Comcast’s Record Odyssey Quarter Doubles as the Exit

Microsoft 365 Auth Fault Took Down Exchange and Teams

Xbox Caps Game Pass Cloud Gaming at 15 Hours

OpenClaw 2.0 Ships a Team Workplace With Host-Trust Defaults

OpenAI Unveils GPT-6 Astra With a Critical Cyber Label

Squishy Dumpling Toys Recalled After Hiding Illegal Water Beads
-
 NEWS2 months ago
Microsoft 365 Auth Fault Took Down Exchange and Teams
-
 GAMING2 months ago
Xbox Caps Game Pass Cloud Gaming at 15 Hours
-
 NEWS2 months ago
OpenAI Unveils GPT-6 Astra With a Critical Cyber Label
-
 NEWS2 months ago
OpenClaw 2.0 Ships a Team Workplace With Host-Trust Defaults
-
 LIFESTYLE2 months ago
Squishy Dumpling Toys Recalled After Hiding Illegal Water Beads
-

 BUSINESS2 months ago
Diesel Breaks Its Record as the White House Claims Credit
-

 BUSINESS2 months ago
ChargePoint Stock Rally Prices Wilmer’s Three-Year Cash Plan
-

 NEWS2 months ago
IFA 2026’s Weird Gadgets Are Building a Sensor Home