LIFESTYLE
Never Worry About Watering Again: Outdoor Spigot Install
Are you tired of lugging heavy watering cans or unraveling tangled hoses for a day of gardening or lawn care? If so, you’re not alone. Many homeowners struggle with the hassle and inconvenience of watering their outdoor plants and lawns. Fortunately, installing an outdoor spigot can provide a simple and effective solution to this common problem.
An outdoor spigot is a faucet that is installed outside your home, allowing for easy access to water your outdoor plants and lawn. By having a dedicated water source in a convenient location, you can say goodbye to the hassle of dragging a hose across your yard or watering the can in hand. Plus, with the help of a professional plumber, installing an outdoor spigot is a quick and easy process that can transform the way you care for your outdoor space.
Outdoor Spigot
Whether you’re an avid gardener or simply want a lush, vibrant lawn, investing in an outdoor spigot is a must-have. Not only will it save you time and effort, but it can also help to promote healthy plant growth and reduce water waste. So why wait? Let’s explore the benefits of outdoor spigot installation and discover the many ways it can transform your outdoor space.
II. Benefits of Outdoor Spigot Installation
A. Consistent Watering System:
With an outdoor spigot installed, you can enjoy a consistent watering system for your garden and lawn. You no longer have to drag heavy hoses and sprinklers around your property, and there’s no more uncertainty about whether your plants are getting enough water or being overwatered. You can set up a drip irrigation system or automated sprinklers, ensuring that your plants get the right amount of water at the right time. This consistency will help your plants thrive, leading to better growth and yields.
B. Easy and Efficient Water Conservation:
Outdoor spigots can be designed to easily connect to rain barrels, which can be used to collect rainwater for watering your plants. Rainwater is free and often better for your plants than the treated water from the city supply. This not only saves you money on your water bill but also helps conserve scarce natural resources. Additionally, a drip irrigation system reduces runoff and wastage, making every drop count. By installing an outdoor spigot, you can take a step towards sustainability and reducing your carbon footprint.
C. Time-saving:
An outdoor spigot system can save you a lot of time. You don’t have to spend hours watering your plants manually or setting up sprinklers in your yard. An automated system can water your garden for you, even when you aren’t home. With smart controllers, you can water on specific days of the week, or based on weather conditions, meaning you can program your watering schedule and just let the system take care of the rest. Additionally, with features like timers, soil sensors, and rain sensors, a spigot system can help you water more effectively, reducing the likelihood of over-watering or under-watering. This leaves you more time to enjoy your garden while knowing that your plants are being properly cared for.
Different Types of Outdoor Spigots and Irrigation Systems:
A. Manual Spigots:
Manual spigots are the most common type of outdoor spigot and are operated by turning a handle to release water. These spigots are inexpensive and easy to install. They are perfect for small gardens and low-maintenance lawns that require occasional watering. However, manual spigots do not have any automatic functions, and you need to turn the handle on and off every time you use it, which can be inconvenient if you have a large garden or lawn.
B. Automatic Timed Spigots:
Automatic timed spigots are an excellent option for those who want to automate watering in their gardens or lawns. These spigots come with programmable timers that allow you to set the watering duration and frequency. You can also set different schedules for different areas of your lawn or garden. Automatic timed spigots come in both battery-powered and AC-powered types, making them flexible and adaptable to your needs.
C. In-ground Irrigation System:
The in-ground irrigation system is the ultimate solution if you want to automate watering your lawn or garden. This system is installed underground and comes with a network of pipes and sprinklers that distribute water evenly across your garden. In-ground irrigation systems often require professional installation but offer long-term convenience and reliability. They are also aesthetically pleasing because they are hidden underground, leaving your garden uncluttered.
D. Above-ground Sprinkler System:
Above-ground sprinkler systems are cheaper than in-ground irrigation systems and are easy to install. These systems use sprinkler heads placed atop poles or brackets that are attached to risers, which are then connected to your spigot. Most above-ground sprinkler systems come with adjustable nozzles that can be set to spray water in different directions and ranges. Above-ground sprinkler systems are best suited for smaller gardens and lawns that require less water. However, these systems lose a significant amount of water to evaporation and are less effective than in-ground irrigation systems.
Materials Required for Outdoor Spigot Installation
A. Garden Hose
A garden hose is an essential tool for a successful outdoor spigot installation. It is necessary to connect the spigot to the water source and allow water to flow out of it. When selecting a garden hose, it is important to choose a durable and flexible material, such as reinforced rubber or heavy-duty vinyl. The length of the hose should be appropriate for the distance between the spigot and the water source, with a little extra length for maneuverability. It is also recommended to select a hose with a nozzle that offers adjustable water pressure and spray patterns to achieve desired watering results.
B. Plumbing Pipes and Fittings
The plumbing pipes and fittings are essential materials required for outdoor spigot installation. The pipes are used to connect the spigot to the water source, while the fittings are used to join different sections of pipes together. PVC pipes and fittings are commonly used in outdoor spigot installations because they are durable and resistant to corrosion. The appropriate pipe and fitting size should be selected based on the water pressure and flow rate of the water source. It is important to ensure that the pipes and fittings are properly connected and secured to prevent leaks.
C. Backflow Preventer
A backflow preventer is a vital component of an outdoor spigot installation as it prevents contaminated water from entering the main water supply. Backflow preventers work by allowing water to flow in only one direction, and prevent contaminated water from being drawn back into the main supply. They can be easily installed between the spigot and the water source and are typically made of brass or plastic. It is essential to ensure that the backflow preventer is installed correctly as it plays a crucial role in protecting the public water supply from contamination.
D. Outdoor Spigot
The outdoor spigot is the main component of the outdoor spigot installation. It is connected to the water source and provides an outlet for water to flow through the garden hose. Spigots are available in various materials, including brass, stainless steel, and plastic, and can be mounted to the side of a house, fence, or other suitable outdoor surface. It is important to select a spigot with the appropriate thread size to ensure compatibility with the garden hose and other plumbing materials used in the installation. The spigot should also be of high quality to ensure durability and resistance to damage from exposure to external elements.
Preparation for Installation:
A. Choosing the Right Placement:
The first step in installing an outdoor spigot is to choose the right placement where water can be easily accessed and the spigot can be connected to the main water line. A good location would be near the garage or near the front yard, which can be reached by a garden hose. It’s important to check local codes and regulations to ensure that the spigot is in compliance with any building codes that might affect the drainage system.
B. Measuring and Marking:
After selecting the perfect spot for the outdoor spigot, the next step is to measure and mark the area where the spigot will be installed. This includes marking the position of the spigot and locating the main water supply line. It is recommended that you measure twice before you start digging to make sure that the placement is correct.
C. Digging the Hole:
As the spigot will be connected to the main water line, digging the hole is the most important step. Be sure to dig the hole deep enough to accommodate the pipes and fittings that will be installed. The size of the hole depends upon the size of the spigot that would be installed. The hole must be dug down to the suggested level which allows the pipe to be laid in the soil that will be below the freezing line.
D. Connecting the Pipes:
Once the hole is dug, the pipes need to be connected properly. Copper pipes are typically used, but PVC pipes can also be used when the installation is in regions without heavy frost. This process may require professional help and licensing to ensure that it is done safely and correctly.
Installation Process:
A. Fixing the Backflow Preventer:
Before installing the outdoor spigot, a backflow preventer must be installed. This device prevents the contaminated water from flowing back into the water supply which keeps the water supply from contamination or pollutants. This is an essential safety feature that must be installed in compliance with local codes and regulations.
B. Installing the Pipes and Fitting:
After installing the backflow preventer, the next step is to install the pipes and fittings. Pipes need to be inserted into the hole and connected to the backflow preventer. Fittings are then attached to the end of the pipe, which helps secure the spigot in place.
C. Connecting the Outdoor Spigot:
Once the pipes and fittings are in place, it’s time to connect the outdoor spigot to the pipe’s end. The spigot is securely tightened with the help of a wrench or pliers to prevent any leaks. Be sure to properly attach the spigot to the pipe as well as the connectors.
D. Testing the System:
After installation, the entire system must be tested to make sure that it’s working correctly, ensuring that there are no leaks or other problems. It’s important to use a pressure gauge to test the water flow rate and turn off the water spigot before attaching the hose. Water must be turned on to ensure that there is no leakage. In case of any leakage, the entire process should be repeated to install a new outdoor spigot.
Maintenance and Repair:
A. Cleaning the Spigot:
Regular cleaning of the spigot is crucial to prevent blockages and maintain good water flow. Over time, dirt, sediment, and other debris can accumulate inside the spigot and cause clogs. To clean the spigot, you can use a soft-bristled brush and a mild detergent to scrub away any dirt and debris. Rinse the spigot thoroughly with clean water to remove any soap residue. This helps keep the spigot functioning well and extend its lifespan.
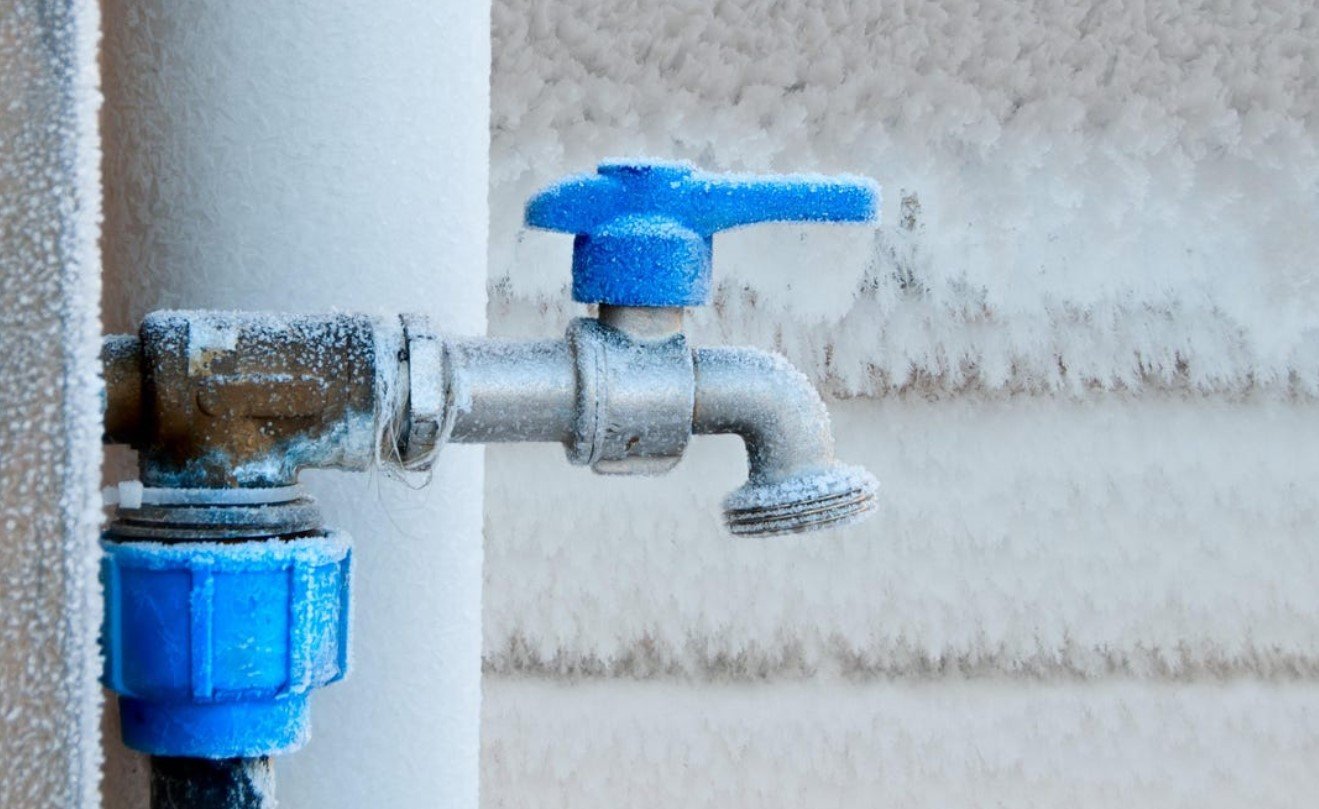
B. Avoiding Water Freezing:
During cold seasons, water in outdoor spigots can freeze, which can cause damage to the pipes and the spigot if not prevented. To prevent water freezing, you can install insulated outdoor covers around the spigot, or you can cover it with a sack or bucket. Another way to prevent water freezing is by installing a frost-proof spigot. This type of spigot minimizes the risk of freezing by placing the valve behind the frost line.
C. Regular Checkups and Upkeep:
Regular checkups and upkeep of the outdoor spigot are necessary to keep it in good working order. This includes inspecting the spigot for leaks, cracks, or other signs of damage that may affect its function. Additionally, check that the valve is functioning correctly, and the hose connectors are in good condition. Regular maintenance of the outdoor spigot ensures it remains functional and prevents costly repairs in the long run.
D. Common Repairs and DIY Solutions:
If your outdoor spigot is not functioning correctly, it could need repairs. Common repairs to the outdoor spigot include fixing leaks, replacing cracked pipes, and repairing damaged hose connectors. DIY solutions such as applying sealant to small leaks or tightening loose connections can also be helpful. However, for more complicated repairs, it’s recommended to have a professional plumber to handle them.
Water Conservation and Drought-Resistant Plants
A. Importance of Water Conservation:
Water conservation is essential to protect our environment and ensure a sustainable future. With a growing population and limited water resources, conserving water is crucial in preventing water shortages and preserving natural ecosystems. Additionally, water conservation can save money on water bills and reduce energy usage in pumping and treating water.
B. Choosing Drought-Resistant Plants:
Planting drought-resistant plants is an excellent way to conserve water while maintaining a beautiful garden. Drought-resistant plants have adapted to tolerate dry conditions, enabling them to survive with minimal watering. Some popular drought-resistant plants include succulents, lavender, and rosemary. These plants not only save water but also require less maintenance.
C. Efficient Irrigation Practices:
Efficient irrigation practices are crucial for water conservation. One effective method is to use drip irrigation, which delivers water directly to the plant roots and minimizes water loss due to evaporation. Additionally, watering plants in the early morning or late evening when temperatures are cooler can reduce water loss from evaporation. Regularly checking the soil moisture level can also prevent overwatering and ensure plants receive just the right amount of water. By following these practices, it’s possible to conserve water while keeping gardens healthy and beautiful.
Conclusion
In conclusion, an outdoor spigot installation offers numerous benefits, from the convenience of never having to drag a hose around to easy access for washing your car or watering plants. It also saves time, money, and effort, making it a practical investment for any homeowner. By having an outdoor spigot installed, you can take a step towards sustainable water usage, as it reduces the waste that comes from using a hose inside the house.
With an outdoor spigot, you have the opportunity to nurture your garden and create a sustainable, cost-effective way to maintain the plants and yard. Furthermore, this installation could be an excellent way to remind you of the importance of water conservation, which is vital in today’s world. If you are considering installing an outdoor spigot, be sure to follow the steps outlined in this article and always remember to turn off the water and drain the spigot before winter to prevent any potential damage. Take this opportunity to enjoy a more sustainable and effortless gardening experience.
FAQs – Outdoor Spigot
1. What is an outdoor spigot?
A – An outdoor spigot is a faucet that is installed on the exterior of the house or building to provide access to water for outdoor activities.
2. What are the advantages of installing an outdoor spigot?
A – The installation of an outdoor spigot eliminates the need to use a hose from inside the house and makes it easy to water outdoor plants, gardens, and clean outdoor spaces.
3. Can I install an outdoor spigot myself?
A – It is advisable to hire a professional plumber to install an outdoor spigot as it may require specific tools and knowledge to properly install.
4. How much does it cost to install an outdoor spigot?
A – The cost of installing an outdoor spigot may vary depending on the location, plumber’s fees, and the type of spigot you prefer to install.
5. Is it necessary to install an additional water line for the outdoor spigot?
A – Yes, an additional water line may be required to install an outdoor spigot.
6. Is it important to install a backflow preventer with the outdoor spigot?
A – Yes, it is important to install a backflow preventer with the outdoor spigot to prevent the contamination of drinking water.
7. Can an outdoor spigot freeze during winter months?
A – Yes, an outdoor spigot may freeze during colder months, and it is important to winterize the spigot to prevent damage.
8. Can I install an outdoor spigot on my own without a permit?
A – The installation of an outdoor spigot may require a permit, and it is advisable to check with your local building department before proceeding with the installation.
9. Can I use the outdoor spigot to wash my car?
A – Yes, the outdoor spigot can be used to wash your car, but ensure that it is well connected to avoid any water leakage.
10. What should I do if there is a leak in my outdoor spigot?
A – If there is a leak in the outdoor spigot, turn off the water supply, and call a professional plumber to fix the issue.


Stock Futures Wobble as Trump’s Hormuz Blockade Meets Earnings Season

Chipotle Enters Mexico, the Market That Sank Taco Bell Twice

Samsung’s Galaxy Watch 9 and Watch Ultra 2 Bet on a Borrowed Chip

Pentagon Suspends CMMC Phase 2, Relieving Small Firms, Straining Assessors

PS5 Adds a Weekly Wrap-Up Widget While Recently Played Stays Broken

A Brazilian Gamer Sued Microsoft Over a Hacked Xbox Account, and Won

Volkswagen’s CEO Confirms 100,000 Jobs Are on the Table

Assassin’s Creed Black Flag Resynced Splits Handhelds by Price

Lorde Calls Smart Glasses ‘Not Sexy’ Right on Ray-Ban’s Own Stage

Nintendo Eyes a Switch 2 OLED Model as the Memory Crisis Bites

Halo Studios Reverses PS Plus for Halo: Campaign Evolved on PS5

Black Ops 1 and 2 PS5 Ports: $40 Price Tag Has Fans Uneasy

Matt Brown Dismisses Rousey and Paul’s MVP MMA Ratings Win Over UFC

Star Wars: Galactic Racer Is a Roguelite Racer With a Podracing Skin

Julius Randle Traded to Nets as Wolves Reclaim Cap Space for Dosunmu

Sega’s $49.99 Sonic Classic and Modern Bundles Hit Switch in October

Colombia Edge DR Congo as Muñoz Books World Cup Knockout Place

Douze Dixièmes Closes Five Months After MIO: Memories in Orbit

Warriors Take Yaxel Lendeborg, the Oldest Pick in the 2026 NBA Draft

Meta’s Muse Image Lets Anyone Use Your Instagram Photos in AI
-

 TECHNOLOGY3 years ago
How to Adjust a Bulova Watch Band – An Easy Guide
-

 News3 years ago
Fred Pentland: Athletic Bilbao’s English mentor who changed the essence of Spanish football
-

 FINANCE3 years ago
Tax Planning for Every Season: Guide to Maximizing Your Tax Benefits
-

 Education3 years ago
African Ministers New Education Plan
-

 BUSINESS3 years ago
What is Entrepreneurial Operating System? A Comprehensive Guide to EOS
-

 Education3 years ago
Innovate Your Learning Journey with Technology and Enhance Education
-

 News3 years ago
Russians formally out of World Athletics Championships
-

 BUSINESS3 years ago
Top 9 Most Expensive American Cities to Rent an Apartment